
Why Accurate Loading Manifests Matter 💡
A loading manifest ensures every physical parcel placed on a vehicle matches your system data. CargoPal supports both cage-stored items and direct station shipments, giving you total visual control before the truck leaves the bay. ⚡
How to Load Shipments Step-by-Step 📝
Log in to your CargoPal dashboard and select Loading.
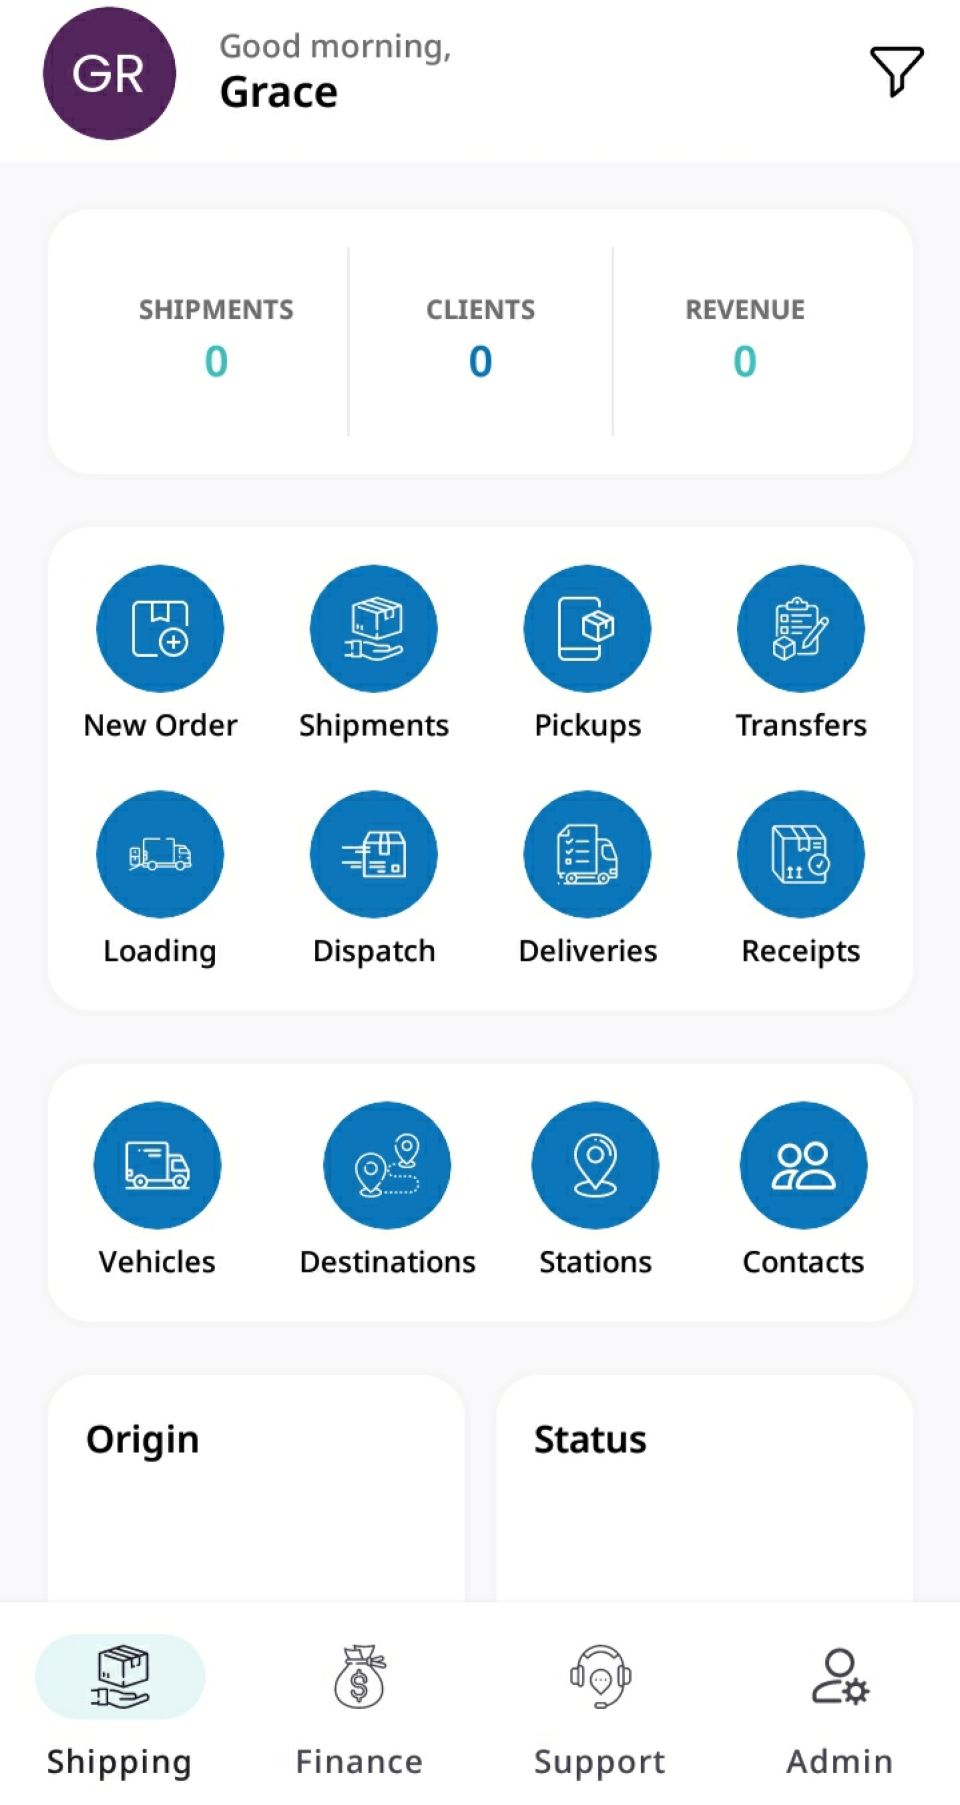
This opens the Loading Manifests view where you can see all past loading records.
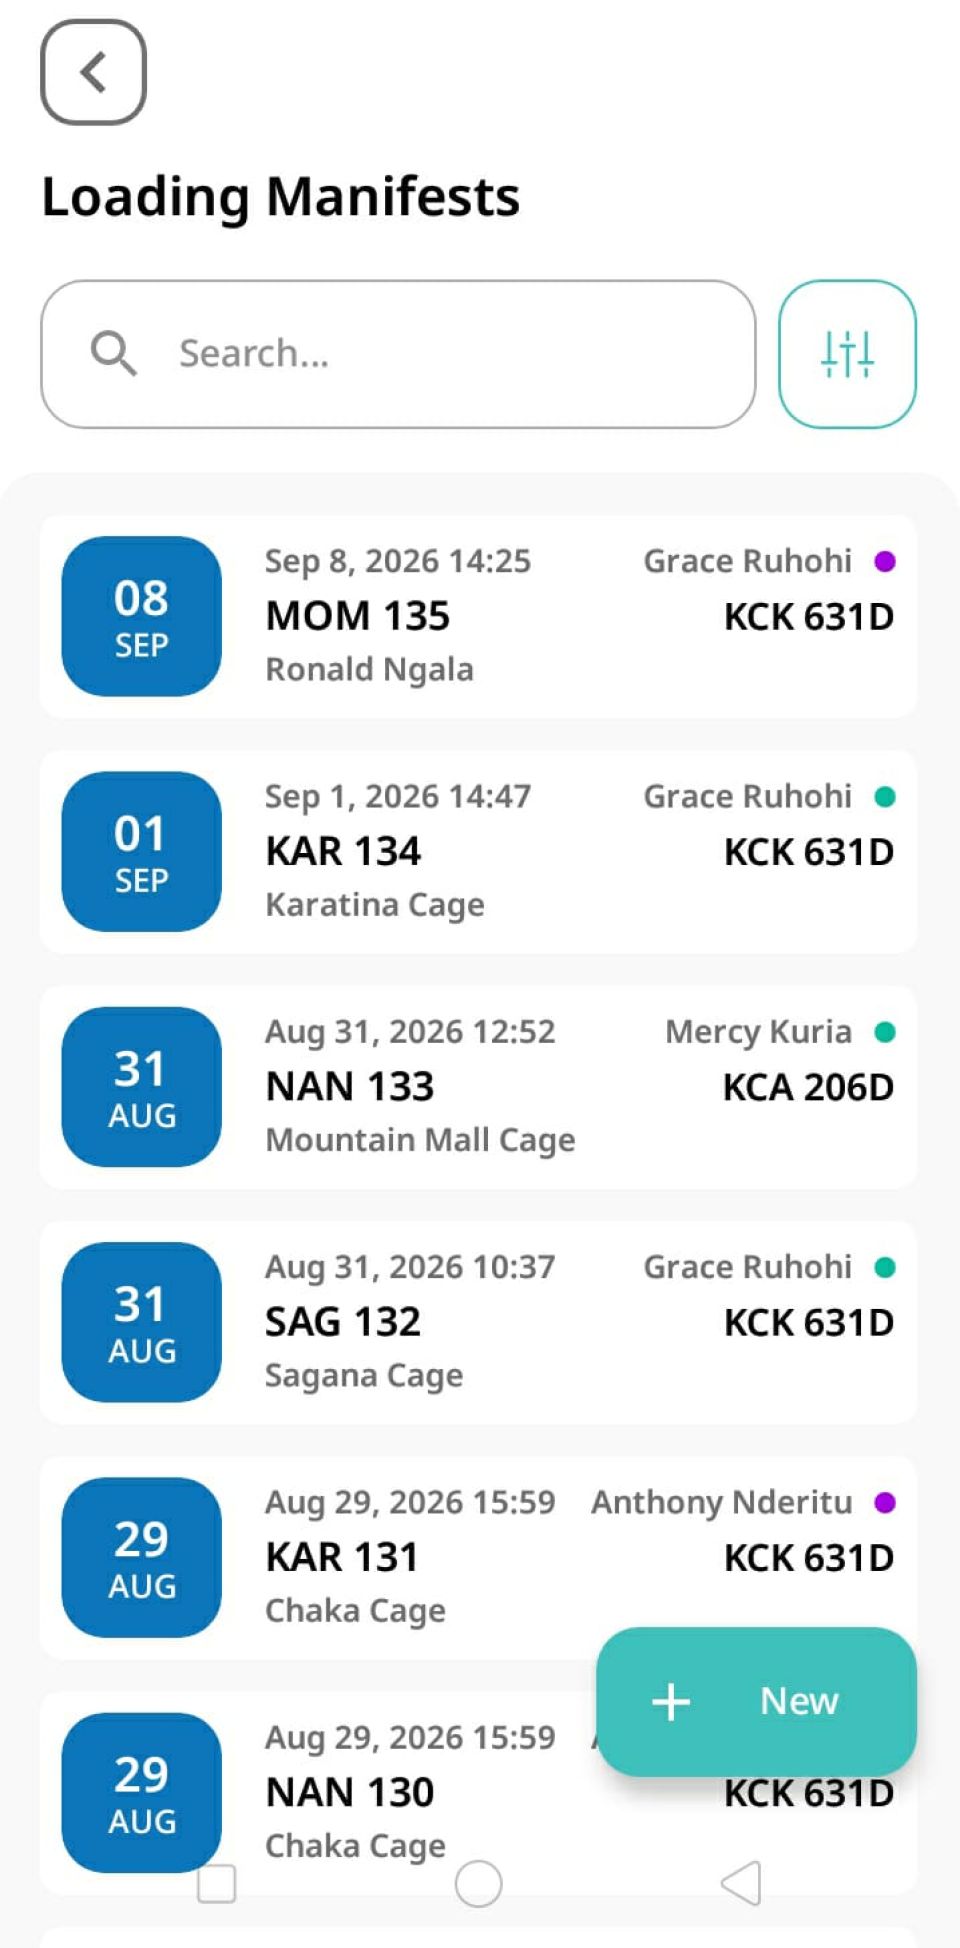
To create a new one, tap the New (+) button in the bottom right corner.
On the Load Shipments form, pick the correct Source Type:
Storage Container: Choose this if the shipments were previously transferred into a warehouse cage. 📦
Station: Choose this if the shipments were booked directly and did not go through the cage transfer process. 📍
If Sourc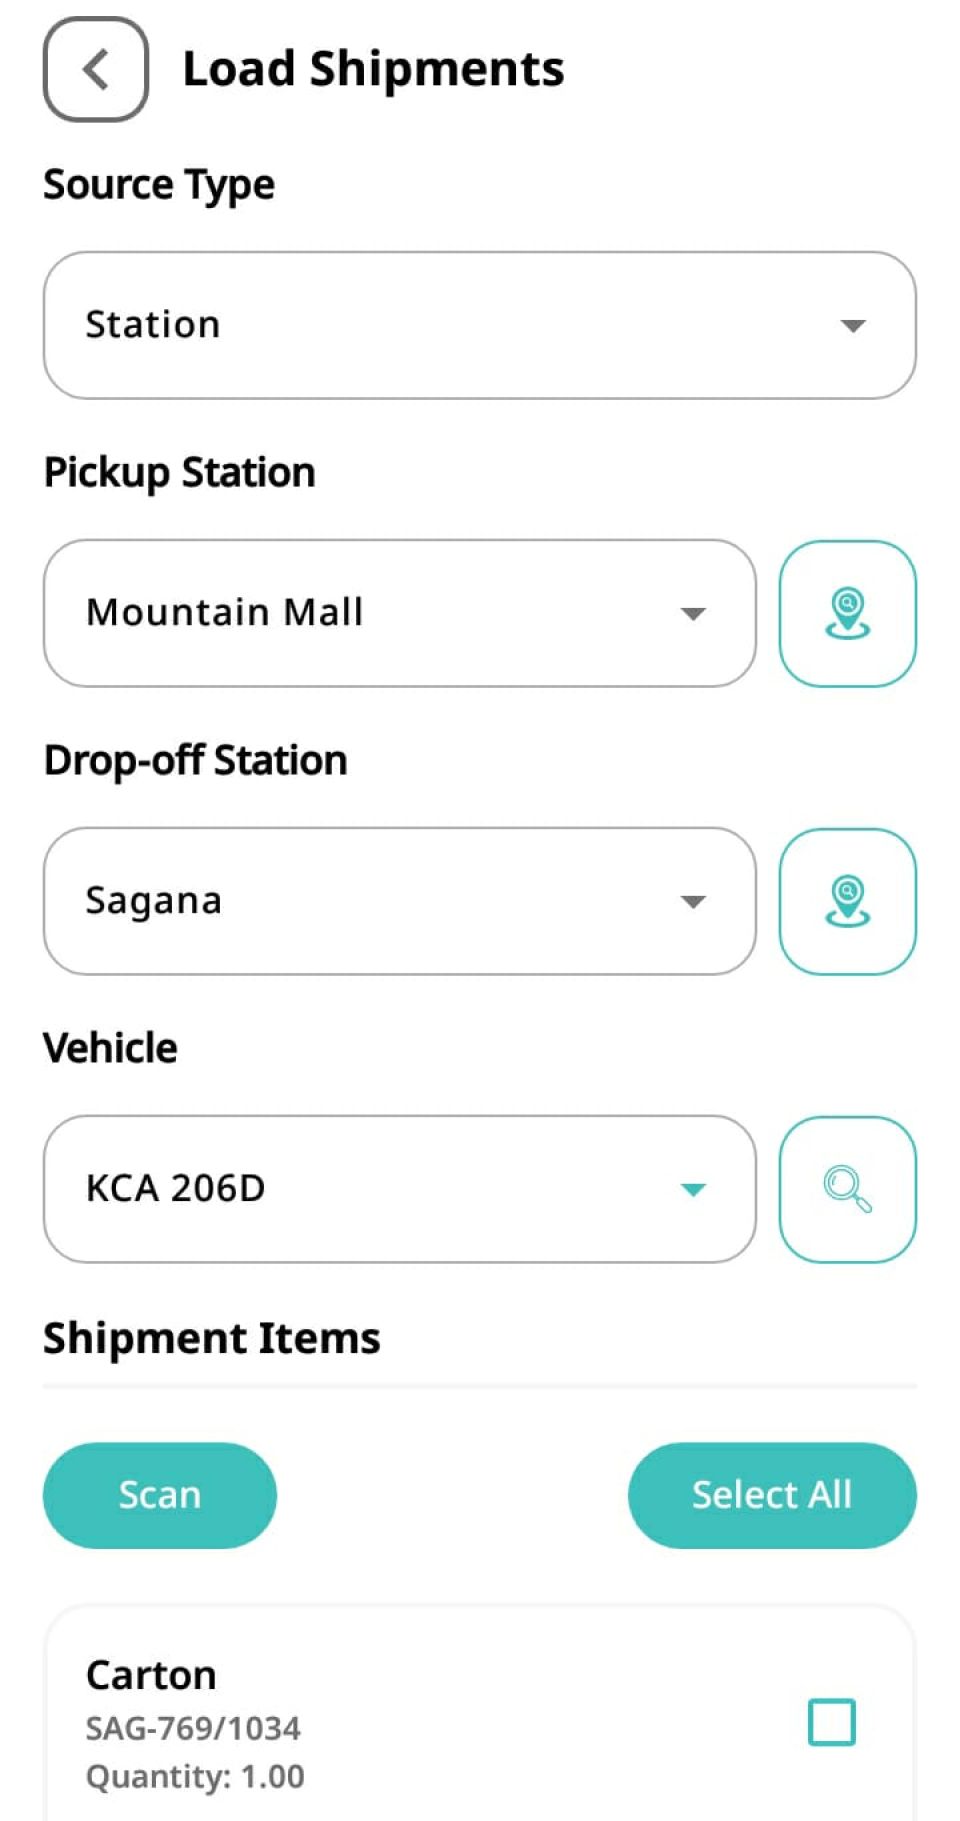 e Type is Storage Container: Select the specific container used during transfer. (Tap the Location Icon on the right for quick container lookup!).
If Source Type is Station: Search and select the appropriate Pickup Station and Drop-off Station.
Assign the Vehicle 🚚
Select the specific vehicle being loaded for transport. Once chosen, CargoPal will automatically display a list of all matching shipment items below.
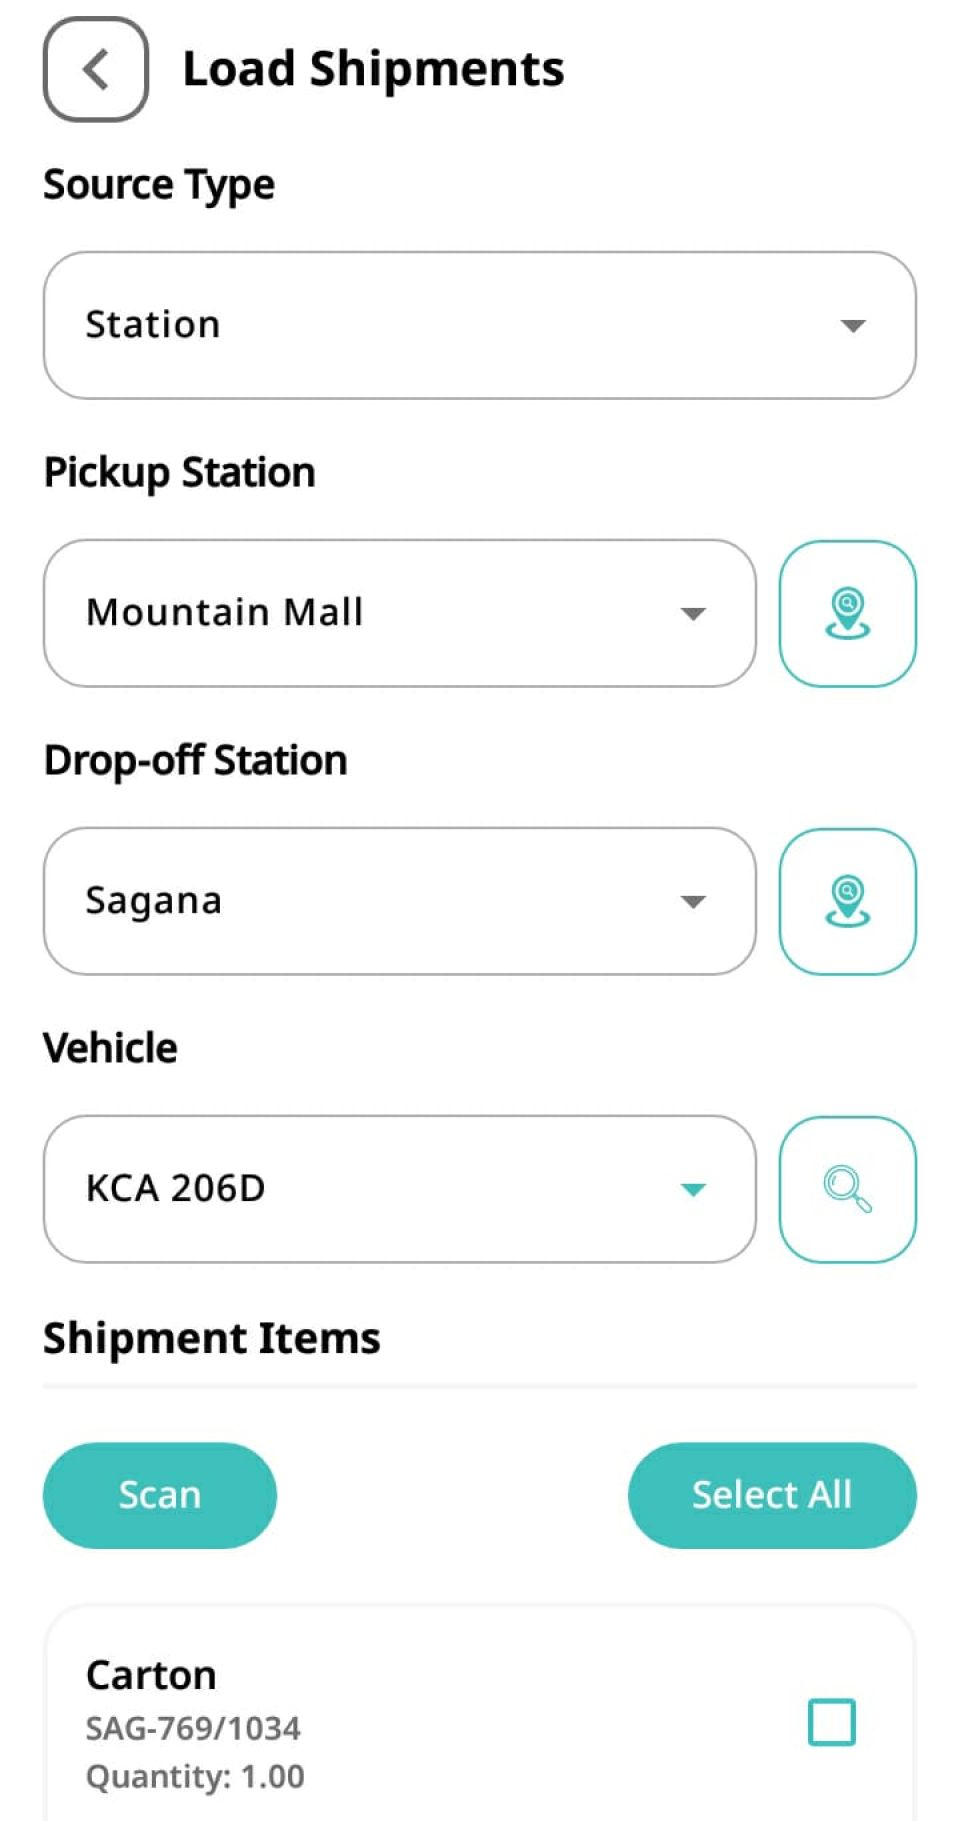
Verify Items and Submit ✅
Check each physical item’s label against its Item ID (the unique number listed after the slash in the item code).
Tick the Checkbox next to each item as you verify it.
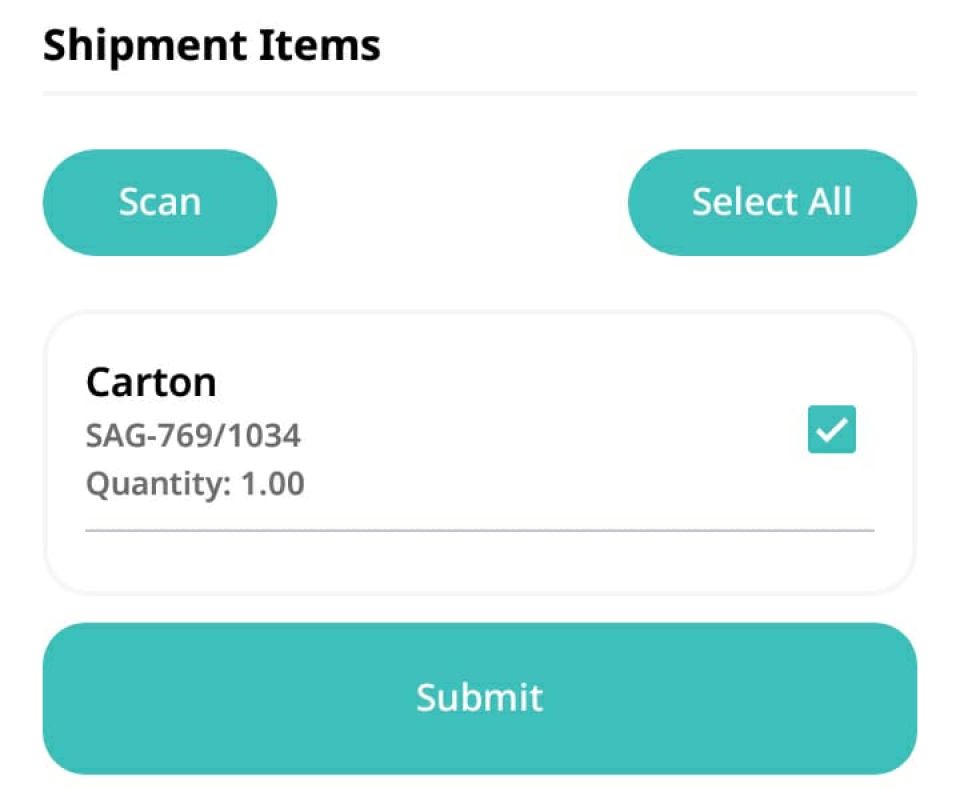
Tap Submit to finalize loading! 🎉
A loading Manifest is automatically created and it appears at the top of the other previous loading manifests.
Tap on your loading manifest to view the details:
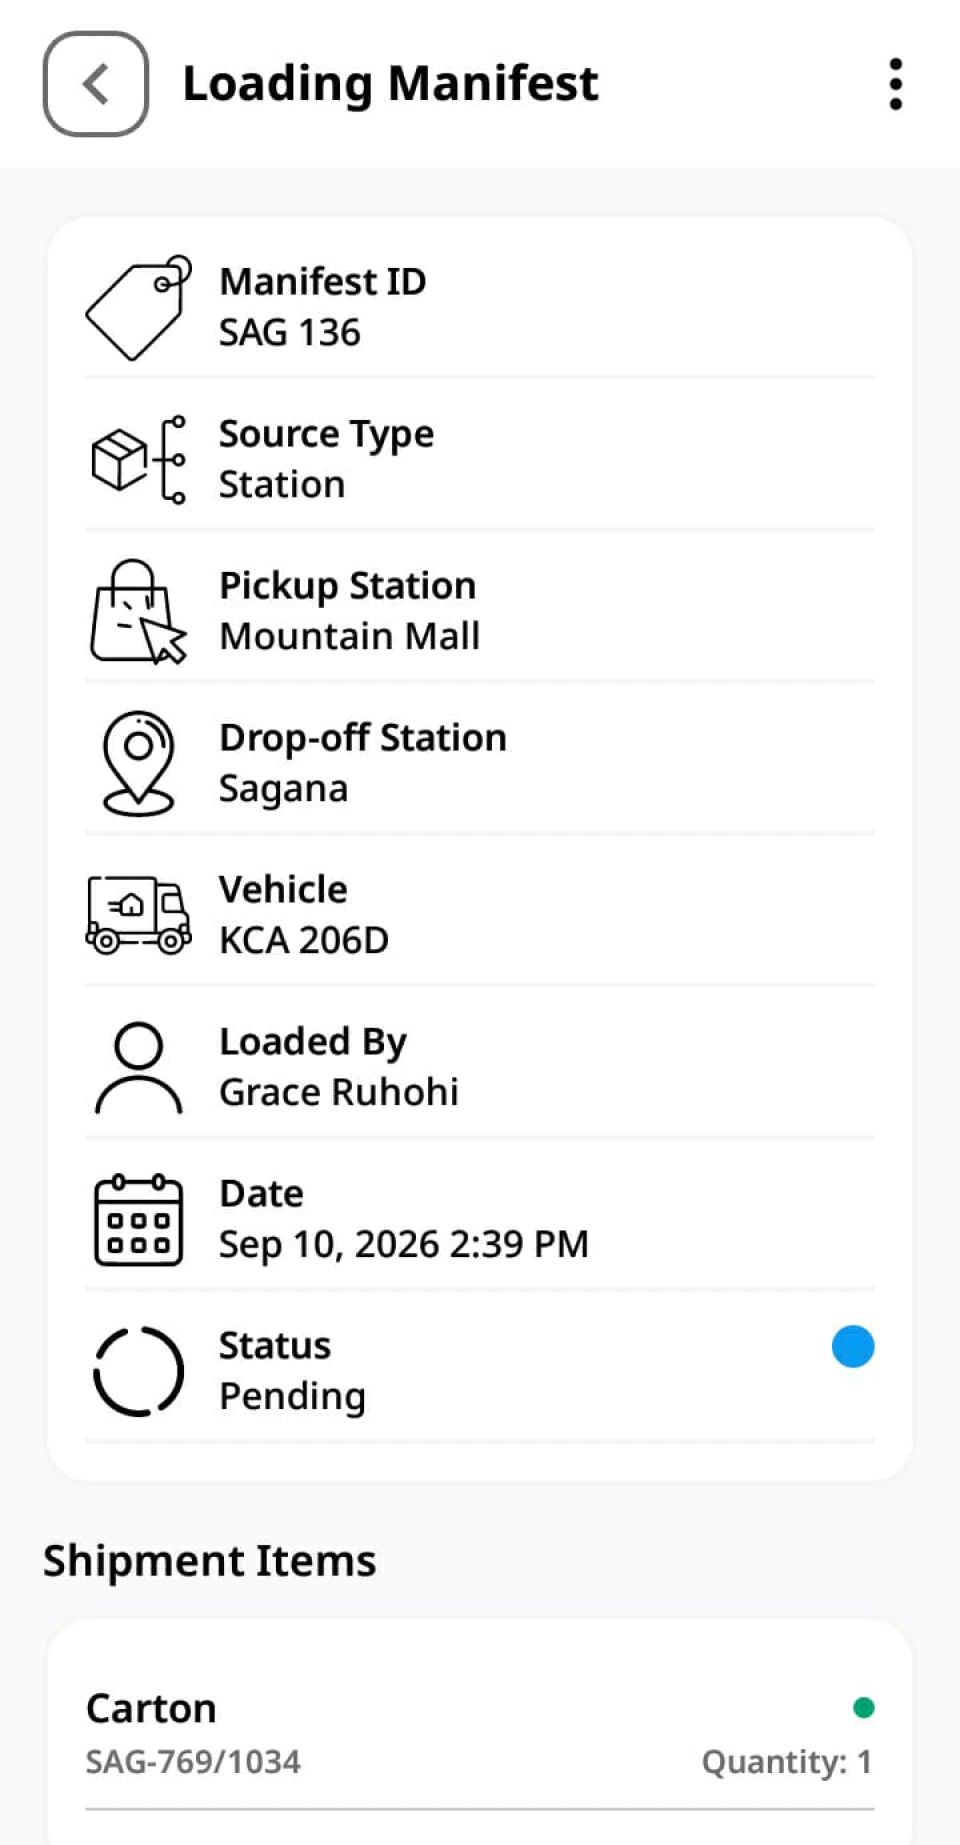
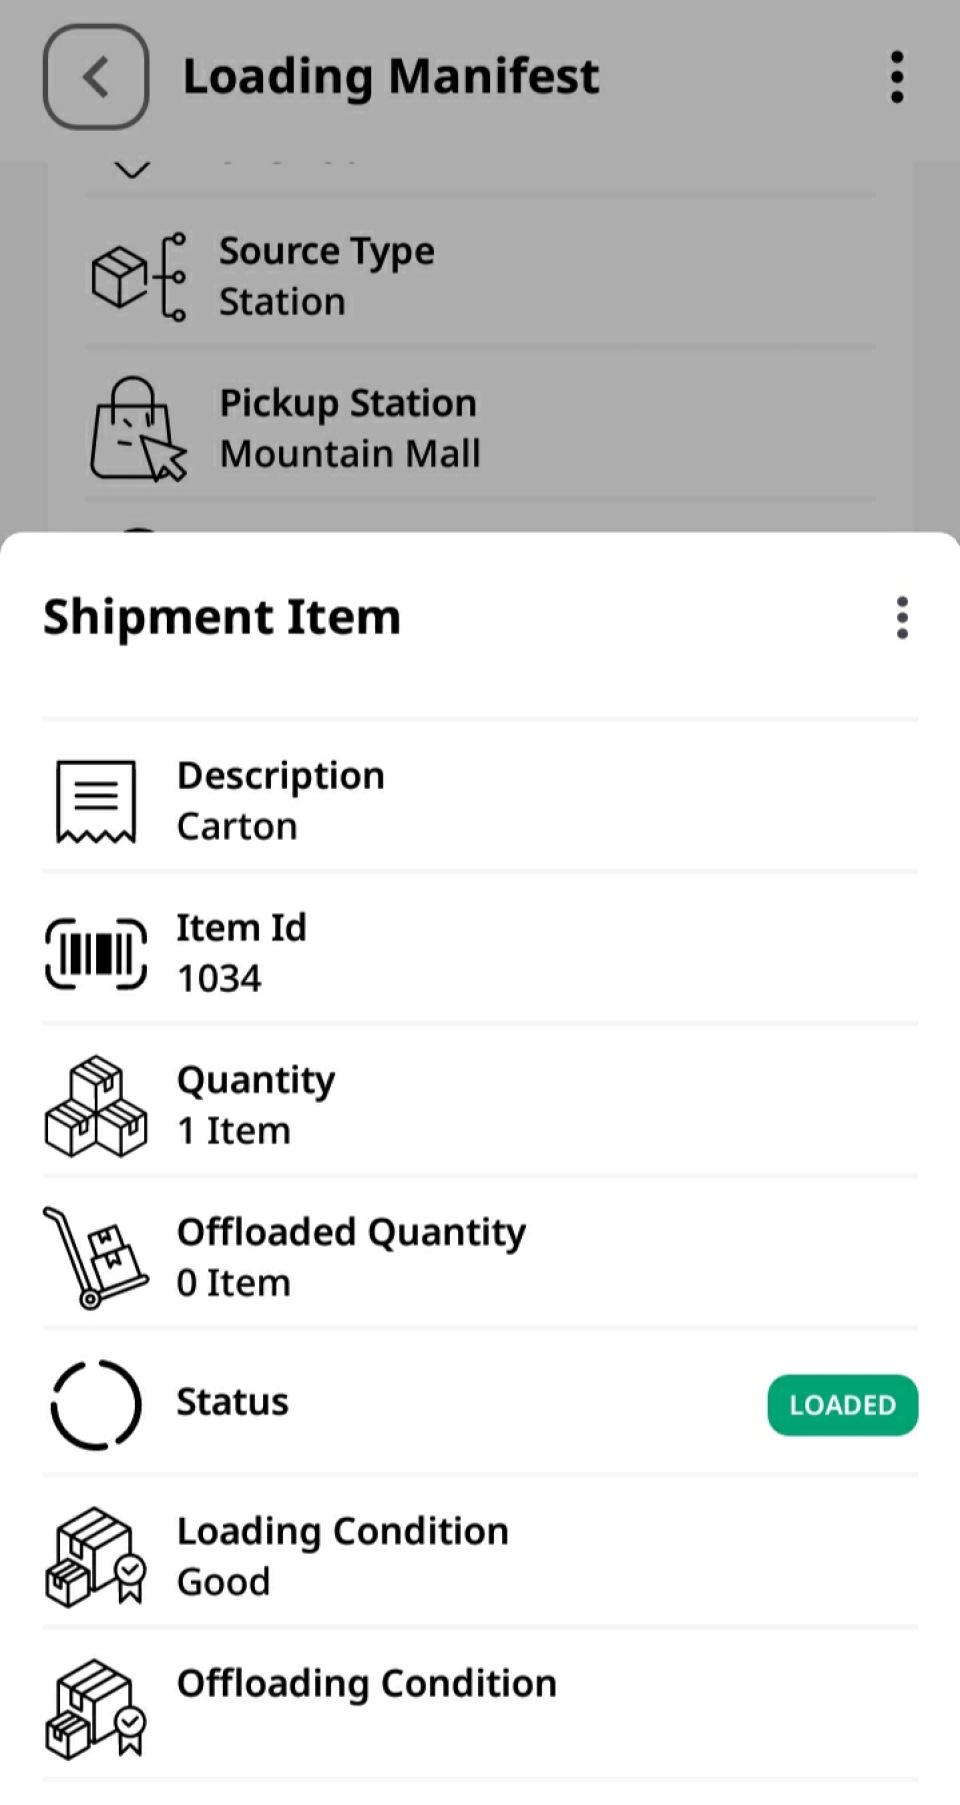
To view the loaded Item Details individually, tap on the Item listed under the Shipment Items Icon:
So that's how you successfully load items using the CargoPal App!